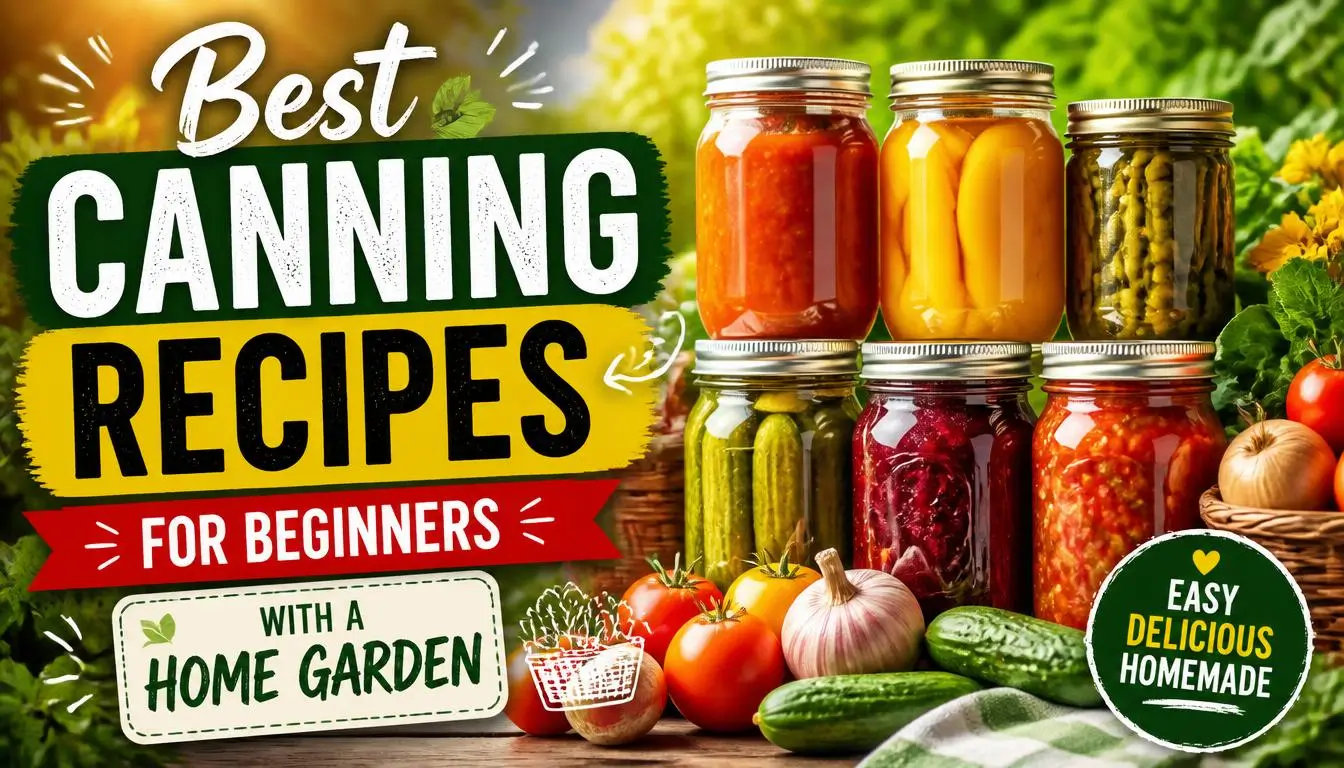
The first time I grew more tomatoes than my family could eat in a single week, panic set in. Softening red globes piled up on my kitchen counter. I frantically searched online for solutions. That was when I discovered canning. It completely shifted my approach to backyard gardening. If you want the best canning recipes for beginners with a home garden, you are exactly where I was three summers ago. You probably feel overwhelmed. Your homegrown harvest deserves a better fate than the compost pile.
The Gear You Actually Need Before You Start
Let us talk about equipment before diving into the food. You do not have to drain your bank account. A basic water bath canner tackles most beginner projects easily. You can usually grab a solid pot from Granite Ware for around thirty bucks. You will need a case of pint-sized glass jars. Make sure to buy a jar lifter and a wide-mouth funnel as well.
Ignore the pressure canner right now. Those heavy pots are meant for low-acid foods like green beans. Treat that as a skill for your second year. Every single idea on my list uses a standard water bath setup. A simple boiling pot is far less intimidating.
I really wish someone had given me a heads-up about lids. Buy twice as many as you think you require. Metal bands are reusable. Flat lids are strictly single-use items. I ran out during the middle of my very first session. Driving to the hardware store with sticky fingers was not a fun experience.
1. Classic Crushed Tomatoes
This is your starting line if you grow tomatoes. Crushed tomatoes form the base of countless winter dinners. You can turn them into a big pot of chili. They also make a fantastic heavy pasta sauce.
Grab your ripest Roma or San Marzano varieties. These types hold less water inside. Blanch them for a minute. Drop them straight into a bowl of ice water. The skins will slide right off the flesh. Crush the peeled fruit directly into a large pot. Add two tablespoons of bottled lemon juice to every quart jar to maintain safe acid levels. Boil the jars in your water bath for 45 minutes. I usually handle a giant batch in late August. Last year I filled two dozen quarts. I skipped the grocery store canned aisle until July.
2. Strawberry Jam
Veterans always tell rookies to start with fruit preserves. Jam is highly forgiving. The entire cooking process moves fast. You can finish a batch of strawberry spread in roughly an hour. The final product puts generic store brands to shame.
Harvest some fresh strawberries from your backyard patch. Mix five cups of the crushed fruit with seven cups of white sugar. Stir in a box of Sure-Jell pectin. That little packet forces the liquid to set up firm. Bring the sticky mixture to a rolling boil. Fill your glass jars. Process them in the boiling water for ten minutes. I hand these out as holiday gifts every winter. Making a full batch costs me maybe three dollars.
3. Dill Pickle Spears
Cucumber vines are notoriously sneaky. You see empty leaves one day. The next morning you find dozens of hidden cucumbers. Pickling handles that massive harvest perfectly. A homemade spear packs a serious crunch.
Making the brine takes almost no effort. Mix equal parts white vinegar and tap water. Dissolve two tablespoons of pickling salt per quart. Shove your cucumber slices tightly into the jars alongside some fresh dill and a garlic clove. Pour the boiling liquid over the vegetables. Leave half an inch of empty space at the top. Process the sealed glass for fifteen minutes. Now comes the worst part. You have to wait two full weeks before eating them so the flavor matures.
4. Fresh Salsa
My husband used to ignore my garden. Homemade salsa changed his mind completely. Making a dip entirely from your own backyard harvest just feels rewarding.
I stick to the tested Ball recipe for this one. Safety requires strict acid ratios here. You need seven cups of tomatoes mixed with a cup of diced peppers. Add a cup of onions. Pour in half a cup of vinegar. Cook the mixture for ten minutes before filling your pints. Process the closed jars for fifteen minutes. Never add extra onions just because you like them. Altering low-acid vegetables messes with the pH balance. Rely on safe guidelines from the USDA.
5. Bread and Butter Pickles
Many people claim to hate sweet pickles. They usually change their minds after trying a homemade batch. These discs offer a nice tang that cuts through a greasy burger perfectly.
Use a mandoline tool to slice your cucumbers thin. Toss the pieces with sliced onions and a handful of kosher salt. Let the bowl sit inside your fridge for a few hours. The salt pulls out excess water so the final product stays firm. Mix up a liquid base using apple cider vinegar and sugar. Add some mustard seed. Heat the liquid on your stove. Pack the vegetables tightly and process for ten minutes. An older neighbor told me these beat her grandmother’s recipe.
6. Zucchini Relish
The dreaded zucchini problem happens to every backyard grower. You ignore a plant for a single day. A vegetable the size of a baseball bat suddenly appears under a leaf. Turning that monster into relish solves the problem easily.
Run the giant squash through a cheese grater. Stir the shreds together with chopped onions and salt. Put the container in the fridge overnight. Rinse the mixture thoroughly the next morning. Simmer the greens in a pot with vinegar and sugar. Add a dash of celery seed. Cook it down for thirty minutes until the liquid reduces. Process half-pint glasses for ten minutes. This condiment tastes great on a charred hot dog. I always put up a dozen jars every July.
7. Peach Preserves
Having access to a productive peach tree is a real blessing. Peach preserves rank as one of the best canning recipes for beginners with a home garden to try early on. The method matches the strawberry jam process exactly.
Remove the fuzzy skins and chop the fruit. Mix the chunks with white sugar and a splash of lemon juice. Cook the pot until the syrup turns heavy. You might prefer skipping the pectin if you want a softer spread. Process the small jars for ten minutes. I stir this stuff directly into my morning yogurt. My family usually eats the entire supply before winter even arrives.
8. Pickled Jalapeños
Pepper plants produce an absurd amount of food. One single stalk will hand you dozens of jalapeños by September. Pickling those spicy rings is incredibly straightforward. It acts as a perfect introduction to preserving.
Cut the green pods into small circles. Wear rubber gloves while you do this. Touching your eye after handling hot peppers is a terrible mistake. Stuff the rings into small jars. Cover them with a boiling liquid made of vinegar and garlic. Let the water bath do its job for ten minutes. These add a massive kick to a plate of nachos. They also look nice sitting on a pantry shelf.
Tips for Safe and Successful Canning
Kitchen safety matters a lot with this hobby. Bad practices invite harmful bacteria into your sealed jars. Botulism is a real threat. Sticking to the basic rules keeps your food completely safe to eat.
Find your instructions from trusted authorities. The USDA publishes excellent guides online. Avoid messing around with the required acid ratios. Press down on the metal lids after the jars cool on your counter. A firm surface means you achieved a good vacuum. A lid that pops up and down means the seal failed. Put that unsealed jar in the fridge and eat the contents quickly.
Pay attention to your local elevation. Living high above sea level changes how water boils. You will need to add extra time to your processing clock. I live near the coast so my times match the books perfectly. A gardening buddy in the mountains has to add ten minutes to her pot.
FAQs
What is the easiest canning recipe for a first-timer?
A basic fruit jam is my favorite starting point. The ingredients cost very little. The pectin guarantees a solid texture. You only boil the glass for ten minutes. Seeing a perfect row of red jars sitting on your counter builds your confidence immediately.
Do I need a pressure canner to get started?
No. A giant pot of boiling water handles fruits and pickles just fine. Pressure equipment is only meant for meats or plain vegetables. Master the simple boiling method first. You can always buy heavy machinery later if you decide to preserve chicken stock.
How long does home-canned food last?
A sealed jar will sit happily in a dark cabinet for over a year. The USDA suggests eating your stash within twelve months for maximum flavor. Keep your glass out of direct sunlight. A cool basement shelf works best. Throw away any liquid that turns cloudy or smells weird when you pry the lid off.
What are the best canning recipes for beginners with a home garden who grow mostly tomatoes?
Crushed tomatoes and basic salsa are your top priorities. Both projects burn through massive amounts of ripe fruit. You will end up using those staples heavily during the winter months. Tomatoes really are the most versatile thing you can grow in the dirt.
Can I reuse mason jars and lids?
The glass itself lasts for decades if you avoid chipping the rim. Metal screw bands are also perfectly reusable. The flat lid pieces belong in the trash after one use. Their rubber sealing compound loses its grip after being boiled. Grab a fresh box of flat lids every single summer.
Time to Start Preserving
Saving your own backyard harvest pays off constantly during the cold months. Try out just one simple project this weekend. You will probably end up expanding your dirt beds next spring just to yield more food. What is currently ripening on your vines right now?